
My New Home Server: AOOSTAR WTR PRO N100
I selfhost many services like Home Assistant and Immich. However, my current home server with a 2TB SSD is almost full and I need a solution to expand my storage capacity. So in this post, I'll you tell my journey to find a new home server, enjoy!
My Old Home Server
My current home server is a used Dell Optiplex 3050 which have one M.2 NVME slot and one 2.5" SATA slot. The 2TB M.2 SSD I'm using is almost full, leaving me with these three options:
- Buy a new 2.5" HDD to supplement my SSD,
- Buy a JBOD chassis and connect it to my home server,
- Or replace the system completely.
Option 1: A new 2.5" HDD
The most straightforward solution is to fill the currently empty 2.5" HDD slot. The largest 2.5" HDD available is 5TB in size, which would've been adequate for my needs. However, I see two problems:
- A single drive meant no redundancy for my data
- These 2.5" 5TB drives use SMR (Shingled Magnetic Recording) technology, which performs poorly for NAS use cases with frequent random read/write operations
I want a long term solution, where redundancy is a must. Therefore, I need to use at least two 3.5" CMR (Conventional Magnetic Recording) HDDs, preferably enterprise-grade models for even more reliability.
Option 2: JBOD Chassis
A JBOD (Just a Bunch Of Disks) chassis seems promising. I can have multiples 3.5" HDD added to my current home server. However, this option also has 2 problems:
- Most JBOD chassis use USB connections and my old server only had USB 3.0 (5 Gbit/s). This would bottleneck the HDDs
- They're not cheap! For example, the Icy Box IB-RD3640SU3 costs around €140 on eBay, which is more than my Optiplex server (€130)
My current home server is simply too old to efficiently use JBOD chassis. They need to be used with high speed external connection like thunderbolt or USB4.
Option 3: System Replacement
Since option 1 & 2 was a no go for me, I need to go with option 3, where I replace the system entirely. So I'm on the lookout for a new server. My criteria are:
- Energy efficient
- Powerful enough to run my homelab services
- Equipped with at least 2x 3.5" drive bays for redundancy
- Affordable
My Choice: AOOSTAR WTR PRO N100
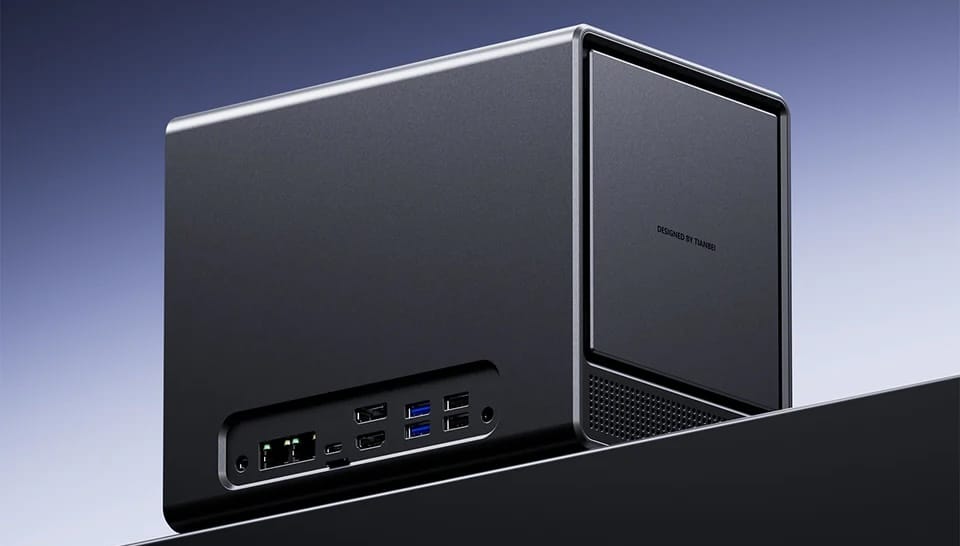
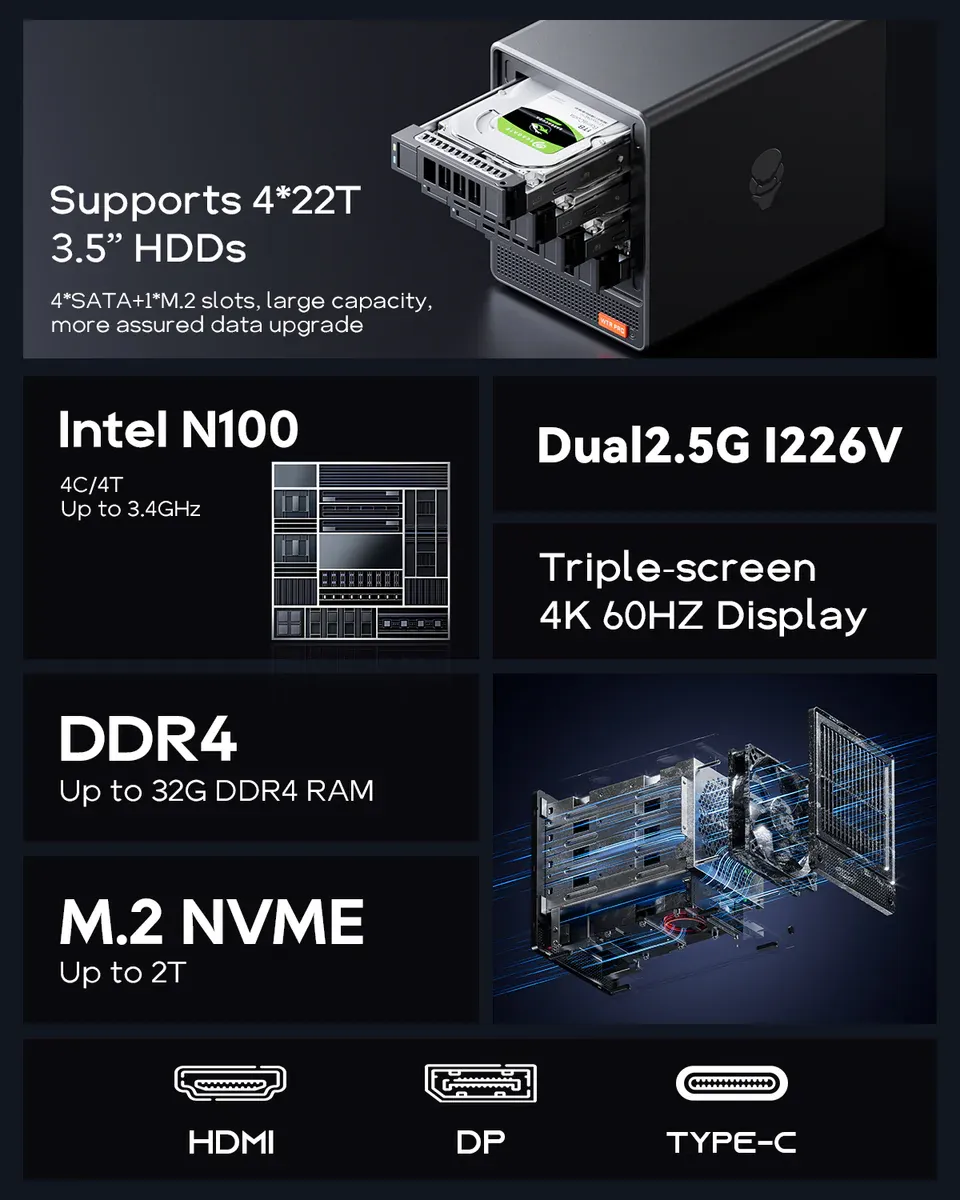
After researching (i.e. googling) extensively, I found a server that fits all my criteria: AOOSTAR WTR PRO N100. At $299 (includes shipping), it was competitively priced and meet all my requirements.
The closest competitor, the UGREEN NASync DXP4800, also uses an Intel N100 processor and has four 3.5" bays, but costs around €500 on Amazon, roughly €200 more than the AOOSTAR. The UGREEN NAS offers its own NAS operating system, which is probably why they costs more. Since I am familiar enough with TrueNAS, I don't really even want to use another OS. If you want an easy to use NAS, the UGREEN NAS might be better for you!
Setup and Configuration
The server arrived in perfect condition and it was shipped with good protection. I fit mine with:
- 32GB of RAM
- A 512GB SSD for the operating system
- 2x 16TB Seagate Exos X24 enterprise drives for storage
I installed Proxmox on the SSD, which booted without issues. All drives were accessible in Proxmox. I then virtualized TrueNAS to handle my NAS needs. Passing the ASMedia SATA controller to the TrueNAS VM worked perfectly, allowing TrueNAS to access the individual drives directly.
Limitations and Downsides
While the AOOSTAR WTR PRO N100 fits my needs, it does have some technical limitations worth considering:
SATA Controller Bottleneck
The server uses an ASM1064 as the SATA controller, which utilizes PCIe Gen3 x1. This interface maxes out at approximately 1GB/s, which is adequate for normal hard drives with individual speeds around 250MB/s. However, this can become a limitation when using high-performance drives.
For example, dual actuators HDD like the Exos 2X18 can achieve speeds exceeding 500MB/s. If you were to install four of these high-performance drives, you would ideally need at least PCIe Gen3 x2 to avoid bottleneck. With this controller, you'll never be able to fully utilize the potential of such drives if you use all four of its bays.
Limited M.2 SSD Performance
Another limitation is that the m.2 slot only supports PCIe Gen3 x2 speeds rather than the full 4 lanes. This effectively cuts the potential bandwidth in half for NVMe drives. While this won't be noticeable for many workloads, it does mean you won't be able to achieve the maximum speeds that PCIe Gen3 NVMe offers. For my casual NAS usage, these limitations won't be noticeable, but they're important considerations for anyone requiring maximum throughput.
Troubleshooting: The Vibration Problem
After running the NAS for a few hours, I notice one issue that irks me: the server vibrated quite considerably. This was my first time using enterprise drives, which can have higher vibration and noise levels. So at first, I assumed this was a normal behavior.
However, since the server sits in my living room, the vibration noise became unbearable during quiet nighttime. After a quick Google search, I found that some people add velcro strips to their NAS drive bays to reduce vibration.
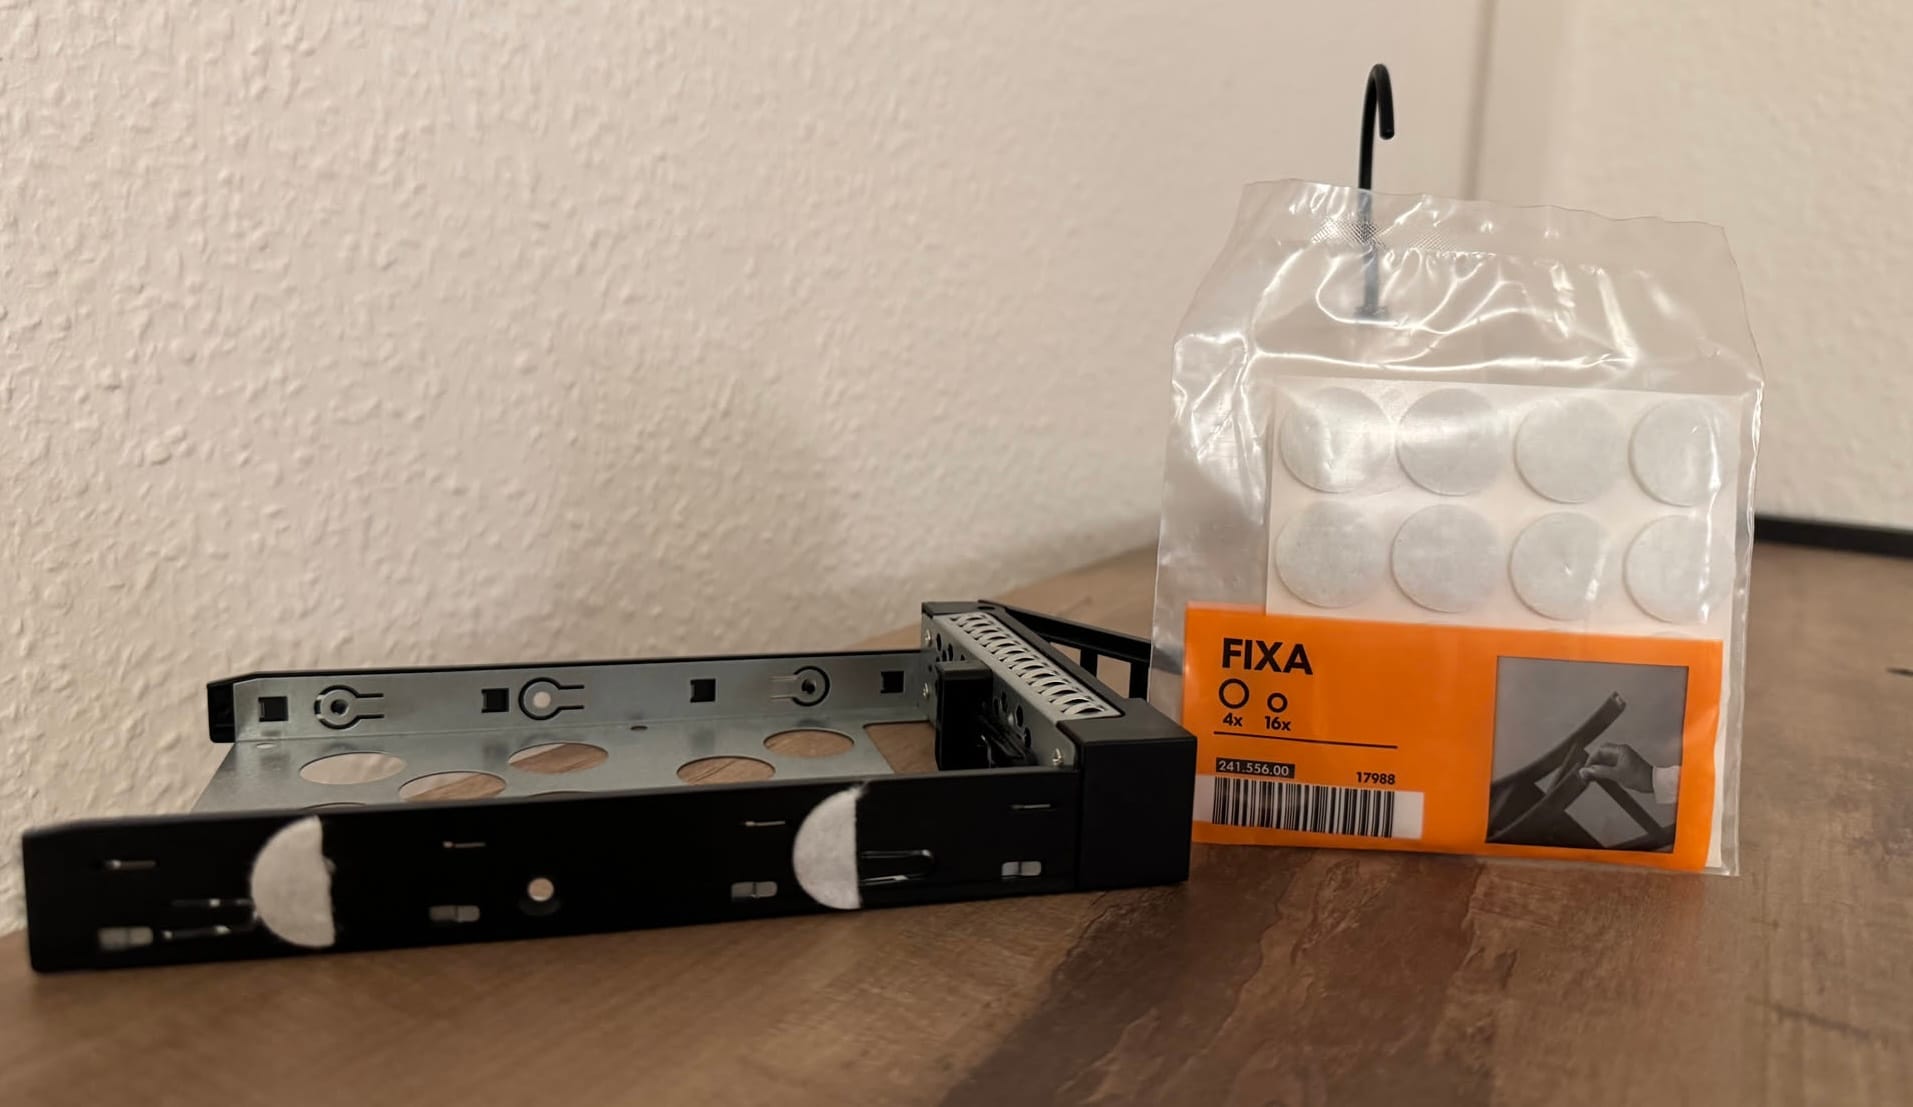
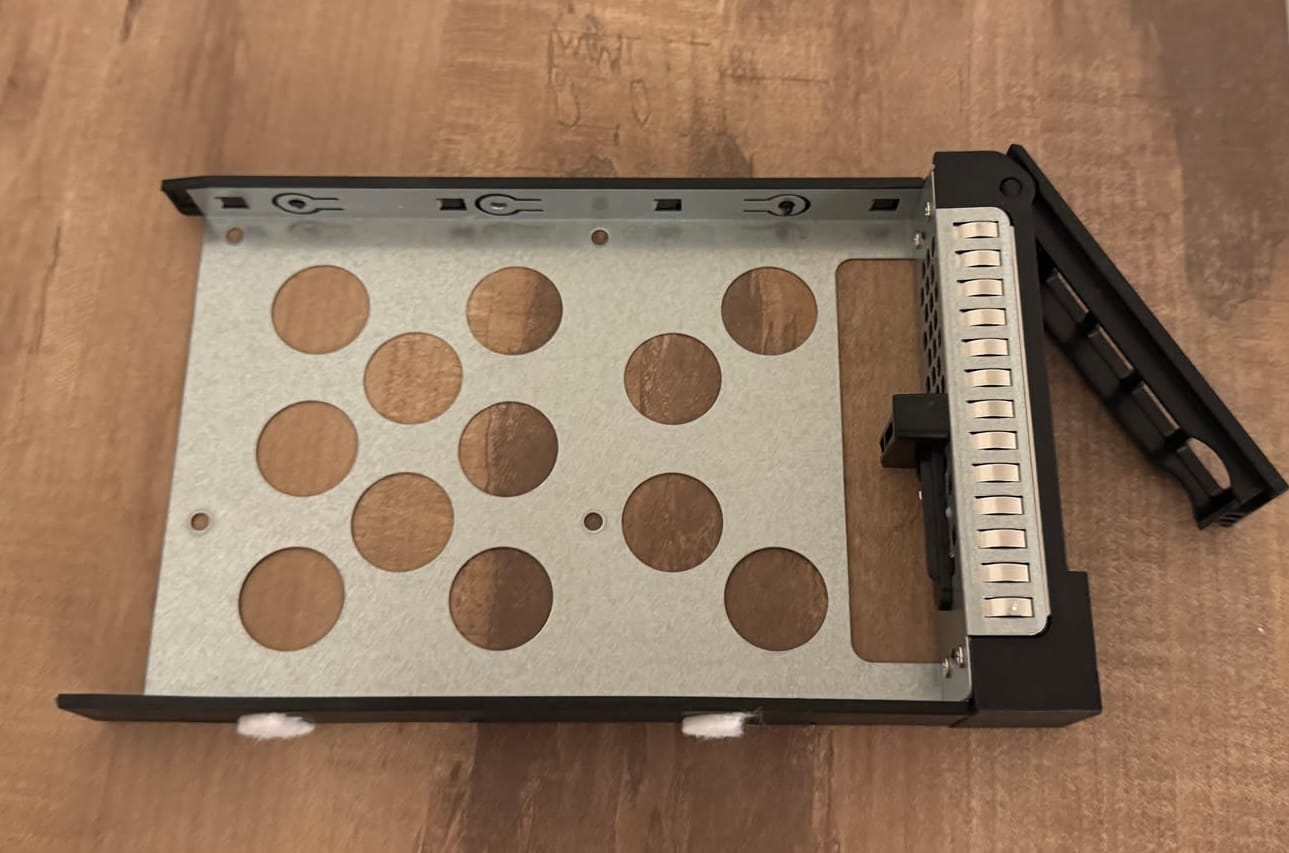
Inspired by that idea, I tried a simple solution: adding furniture feet from IKEA to the sides of the drive bays. This modification practically eliminated the vibration! When the drives are spinning but not being actively accessed, the server is now nearly inaudible.
Final Thoughts
This new system has significantly improved my home server setup. The total cost came to roughly:
- $299 for the AOOSTAR WTR PRO N100
- €64 for 32GB RAM (Kingston FURY Impact DDR4-3200 SO-DIMM CL20)
- €25 for a 512GB NVME SSD
- €346 for two 16TB X24 Exos drives (manufacturer recertified)
For approximately €700, I now have a capable system with 32TB of raw storage (16TB usable space with RAIDZ1), plenty of room for expansion with two additional drive bays, and enough processing power to run all my homelab services. The system is quiet, efficient, and should serve my home lab needs for years to come.
Comments